 Independent guide · Not affiliated with LoongBuy
Unofficial guide
Independent guide · Not affiliated with LoongBuy
Unofficial guide
Confirm the item before judging the pair
Begin with the basics: model or silhouette, colour, marked size and whether the set shows the same pair throughout. A detailed stitching photo is not useful if the colour or size is wrong. Keep the listing reference beside the QC set, but remember that retail or seller images use different lighting and may not represent the warehouse pair exactly.
QC photos may reveal visible shape and construction issues. They cannot prove authenticity, cushioning, comfort, material composition, durability or how the pair will age.
Require a complete, comparable set
A useful LoongBuy sneaker QC review needs both shoes and enough straight angles to compare them. Angled hero photos can exaggerate one toe box, hide the inner sides or make heel placement look uneven.
- Both shoes together from straight above
- Straight front view of both toe boxes
- Outer and inner side of each shoe
- Straight rear view of both heels
- Tongues, labels and interior size markings
- Midsoles, outsoles and the complete bottom pattern
- Close photos of any area that looks uncertain
Start wide before zooming in
Compare overall length, toe-box height, collar height, heel profile and the way each shoe sits on a flat surface. Use paired, straight photos. Minor differences in stuffing or camera position can alter the appearance, so look for repeated inconsistency across several angles rather than one suspicious frame.
Compare height, curvature and left-right outline from front and top views.
Check opening shape and height without assuming packing material is identical.
Use a straight rear photo to compare alignment, width and visible placement.
Notice severe rocking or twisting, while allowing for soft uppers and camera angle.
Follow the construction lines
Trace each major panel from one end to the other. Compare left and right cuts, material transitions, perforation patterns and edge finishing. Logos and decorative elements should be judged using straight views and nearby seams as reference points. A photo can show visible placement, but it cannot establish the material specification.
Look for patterns, not one loose thread
Inspect the longest visible stitch paths first, then move to tight curves, panel corners and high-stress joins. One removable loose thread is different from skipped stitches, repeated wandering lines or an opening seam. Also check glue and paint boundaries, while remembering that lighting can make clear adhesive look more prominent.
| Signal | What to check | Next step |
|---|---|---|
| Stitch path | Consistency, skipped areas and joins at corners | Request a closer straight image if the line disappears |
| Panel edge | Clean meeting points and similar left-right placement | Compare the same area on both shoes |
| Adhesive | Visible gaps or heavy residue along the upper-to-sole join | Ask for a daylight close photo when uncertain |
| Paint boundary | Overspray, uneven edges or inconsistent coverage | Check more than one angle before deciding |
Inspect the base of the pair
Compare midsole height, sidewall shape, heel alignment and the line where the upper meets the sole. Review the complete outsole for pattern consistency and obvious damage. These images are useful for visible finishing; they do not prove rubber compound, grip, cushioning or wear resistance.
A correct label is not a fit guarantee
Confirm the marked size and sizing system, then ask for an insole or internal measurement if the model is unfamiliar. Compare centimetres with footwear that already fits. Do not assume two models with the same printed size have the same internal length, width or toe shape.
Use the complete LoongBuy spreadsheet sizing guideSeparate a clear mismatch from an uncertain photo
Judge the consequence before the cosmetic size of the issue. A subtle difference that changes fit, identity or structural use can matter more than an obvious removable thread. When perspective could explain the signal, request a controlled comparison instead of guessing.
| Finding | Risk | Response |
|---|---|---|
| Wrong marked size or colour | The item does not match the order | Stop and resolve before shipping |
| Opening seam, sole gap or visible damage | Possible structural or condition problem | Request a sharp close photo and raise it promptly |
| Asymmetry visible across straight views | Possible pair inconsistency | Compare matched angles and decide against your tolerance |
| Uneven appearance in one angled image | Could be perspective, stuffing or lighting | Ask for a straight paired photo |
| Loose thread or surface dust | Potentially removable cosmetic issue | Distinguish it from an open seam or permanent mark |
Accept evidence, pause uncertainty, reject clear mismatch
Continue checking current details
The pair, size and photo coverage match your shortlist criteria, with no unresolved visible issue.
Request another photo
An angle, measurement or close detail is missing, blurred or distorted by perspective.
Stop and resolve it
The item, colour, marked size or visible condition does not match what you intended to review.
Apply the workflow to sneaker finds
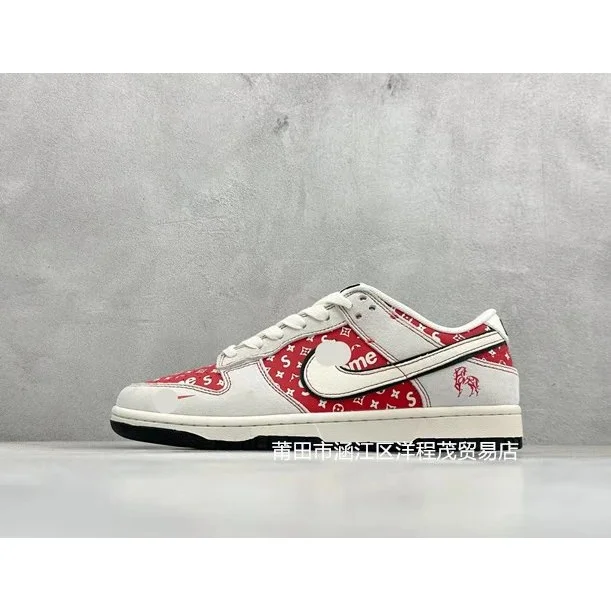
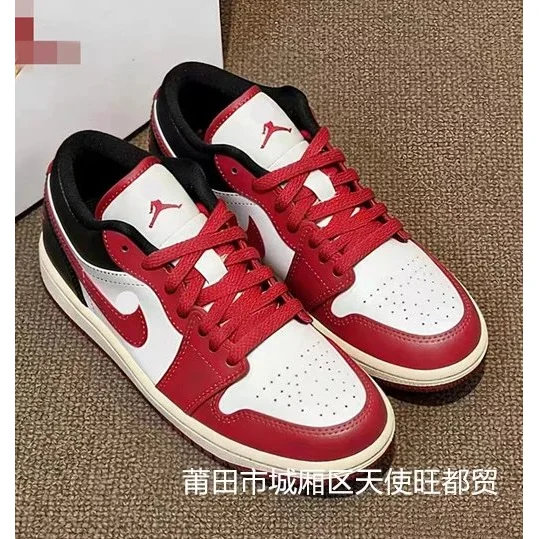
The current sneaker category is a discovery snapshot. Its entries do not presently report a QC-photo signal, so treat them as candidates to research rather than pre-approved pairs.
Browse the complete sneaker spreadsheet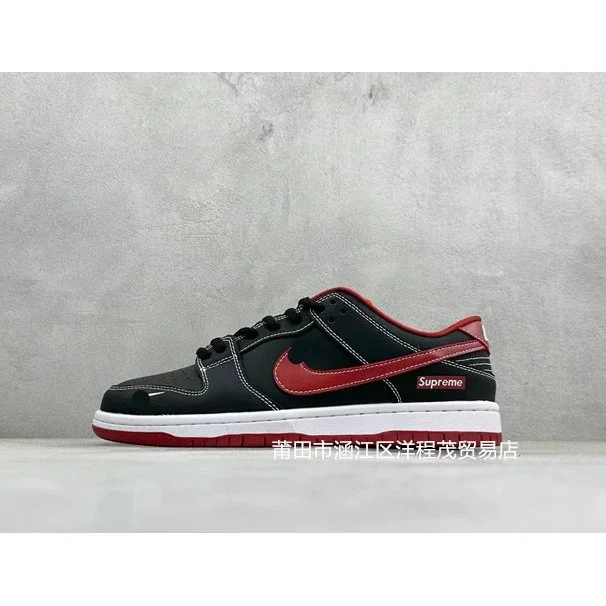
LoongBuy sneaker QC FAQ
What should LoongBuy sneaker QC photos show?+
A useful set should show both shoes together, both outer and inner sides, straight front and heel views, toe boxes, tongues, midsoles, outsoles and the size label. Request more evidence when an important angle is missing.
Do more QC photos mean better sneaker quality?+
No. A larger set gives you more evidence to inspect, but it does not prove quality, authenticity, comfort, material composition or durability.
How do I check sneaker symmetry?+
Use straight paired photos to compare toe shape, collar height, heel alignment and panel placement. Perspective can distort angled photos, so do not judge symmetry from one diagonal view.
Can sneaker QC photos confirm sizing?+
Only partly. The label can confirm the marked size, but fit still depends on the model. Compare an insole or internal measurement with footwear that already fits you.
What if a sneaker QC photo is unclear?+
Pause the decision and request a clearer straight-on or close image of the exact area. Do not fill an evidence gap with assumptions.
Are sneaker entries on this spreadsheet personally approved?+
No. The spreadsheet organises discovery data and available QC signals. Inclusion is not authentication or a personal approval of the seller, pair or batch.